Drywall is a critical component in building and renovating homes, and your methods can make a big difference in the final results. Whether working on a new house or updating an old one, knowing the proper drywall techniques ensures a smooth, long-lasting finish. There are various ways to tackle drywall projects, each with its own advantages and best practices.
Understanding these methods can save you time and money while producing professional results. Mastering techniques like taping, mudding, and finishing ensures your drywall work looks great and lasts longer. Whether you’re a DIY enthusiast or planning to hire professionals, knowing these methods will help you achieve top-notch results.
Standard Drywall Installation Techniques
Measuring and Cutting Drywall
Measuring and cutting drywall accurately is the first step in any successful drywall project. Start by measuring the space where the drywall will be installed. Use tape to get precise measurements of the length and height of the wall. It’s important to double-check your measurements to avoid any errors.
Once you have your measurements, mark them on the drywall sheet using a straight edge or a T-square. A utility knife is best for making clean cuts. Score along the marked line, then snap the drywall to create a straight edge. This method gives you a clean cut that’s easy to work with and ensures a good fit when the drywall is installed.
Securing Drywall to Studs
After cutting the drywall to size, securing it to the studs is the next step. Use drywall screws or nails to attach the drywall to the wooden or metal studs behind the wall. Start by securing the top of the drywall sheet to the top plate, ensuring it’s level. Then, work your way down, fastening screws or nails every 12 inches along the edges and every 16 inches in the middle of the sheet.
It’s essential to countersink the screws slightly so they don’t stick out above the surface of the drywall. This helps create a smooth finish that is easier to tape and mud later. Properly securing the drywall ensures it stays in place and creates a solid base for the rest of the project.
Taping and Mudding Methods
Paper Tape vs. Mesh Tape
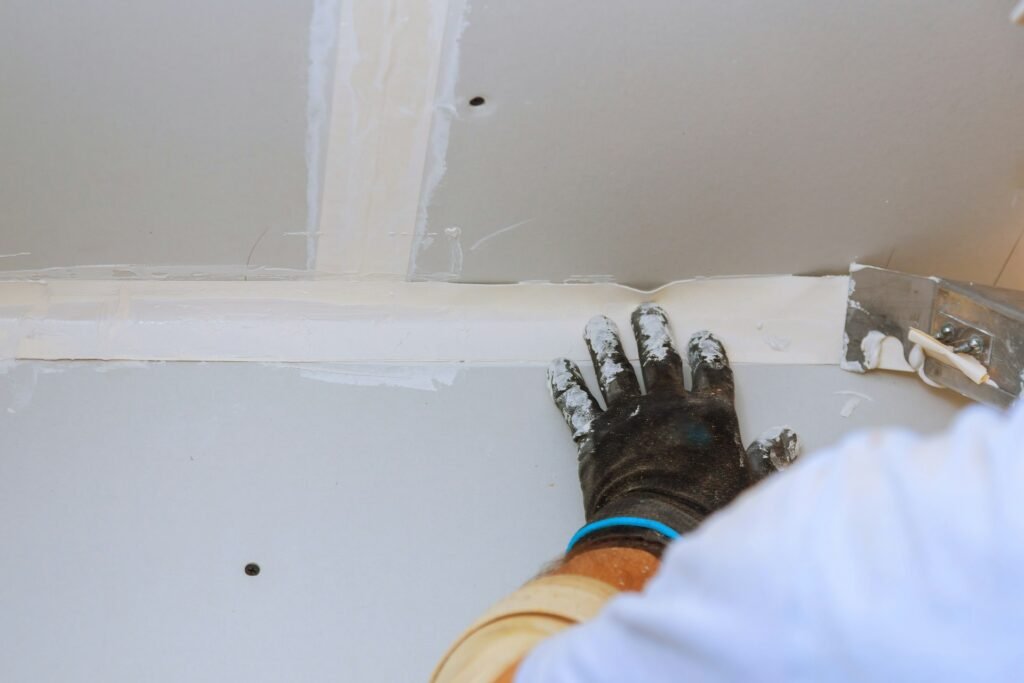
Once the drywall is secured, the next step is taping the seams. Two main types of tape are used in drywall work: paper and mesh. Paper tape is a traditional choice and offers excellent strength. It’s non-adhesive and must be embedded in a layer of joint compound. Professionals often prefer paper tape because it resists cracking and creates a smooth finish.
Mesh tape is self-adhesive and more accessible for beginners to use. It sticks directly to the drywall, making the application process faster. However, mesh tape can be less durable than paper tape and might not create as smooth a finish. It’s often used for quick repairs or in smaller areas.
Applying Joint Compound
After taping, the next step is applying a joint compound known as mud. Start by covering the tape with a thin layer of joint compound using a drywall knife. Spread the compound evenly, feathering the edges seamlessly and blending it with the drywall. Allow this first layer to dry completely, which usually takes 24 hours.
Once the first layer is dry, apply a slightly wider layer of joint compound to build up the surface. Smooth out the compound as much as possible to reduce sanding later. After the second layer dries, you may need to apply a third layer, primarily if imperfections exist. This method ensures the seams are well covered and creates a smooth, even surface ready for finishing.
Finishing Techniques for a Flawless Look
Skim Coating
Skim coating is a technique for creating a smooth and even surface on drywall. This process involves applying a thin layer of joint compound over the entire surface. It helps hide imperfections, such as minor dents or uneven areas. Skim coating is beneficial if the drywall has been heavily textured or you want a perfectly smooth finish for painting or wallpapering.
To skim coat, apply a thin layer of joint compound with a wide drywall knife or trowel. Spread the compound evenly, making sure to cover all the seams and screw heads. Once the first layer is dry, sand it lightly to smooth out any high spots. Then, apply a second layer if needed. After the final layer dries, sand the surface again to achieve a smooth finish. This technique requires patience, but the results can be stunning and professional.
Sanding and Polishing
Sanding is a crucial step in achieving a flawless finish on drywall. After applying the joint compound and allowing it to dry, use fine-grit sandpaper to sand the surface. Sanding helps remove bumps, ridges, or excess compounds, creating a smooth surface. Be careful not to sand too much, which can damage the drywall or expose the tape underneath.
Polishing the walls involves a final pass with an even finer sandpaper or sanding sponge. This step ensures the surface is as smooth as possible and ready for painting. Always wear a mask to protect yourself from dust while sanding. Once the sanding is complete, wipe down the walls with a damp cloth to remove dust. Now, your drywall surface should be smooth, polished, and ready for the next stage of your project.
Advanced Drywall Solutions
Soundproof Drywall
Soundproof drywall is an excellent solution for homes or buildings where noise reduction is a priority. This type of drywall is specially designed to dampen sound and minimize noise transfer between rooms or from the outside. It is made with multiple layers of gypsum and other materials that enhance its sound-absorbing properties.
To install soundproof drywall, follow the same steps as standard drywall but use soundproof sheets. These can be heavier and more expensive than regular drywall but offer significant benefits for noise reduction. Soundproof drywall is ideal for bedrooms, home theaters, studios, and shared walls in multi-family homes. It helps create a quieter, more peaceful environment, making it a valuable addition to any home.
Mold-Resistant Drywall
Mold-resistant drywall is another advanced solution, perfect for moisture-prone areas like bathrooms, kitchens, and basements. This type of drywall has a fiberglass mat instead of the traditional paper facing, making it less susceptible to mold growth. The core of mold-resistant drywall is also treated to make it more moisture-resistant.
Installing mold-resistant drywall follows the same steps as standard drywall but gives you added protection against mold and mildew. This longevity and resistance mean fewer repairs and a healthier living environment. Mold-resistant drywall is an excellent choice for any home, especially in El Paso, where humidity and leaks can lead to mold problems.
Conclusion
Drywall methods vary widely, but mastering them ensures excellent results for any home project. Each technique has unique benefits, from basic installation and securing to advanced solutions like soundproof and mold-resistant drywall. Understanding and applying the proper methods can improve your home’s appearance, functionality, and resale value.
Whether you’re taking on a DIY task or looking to hire professionals, knowing these drywall techniques will help you achieve the best results. Ready to enhance your space with expert drywall installation? Contact Premier Home Updates today, and let us make your home look flawless.

